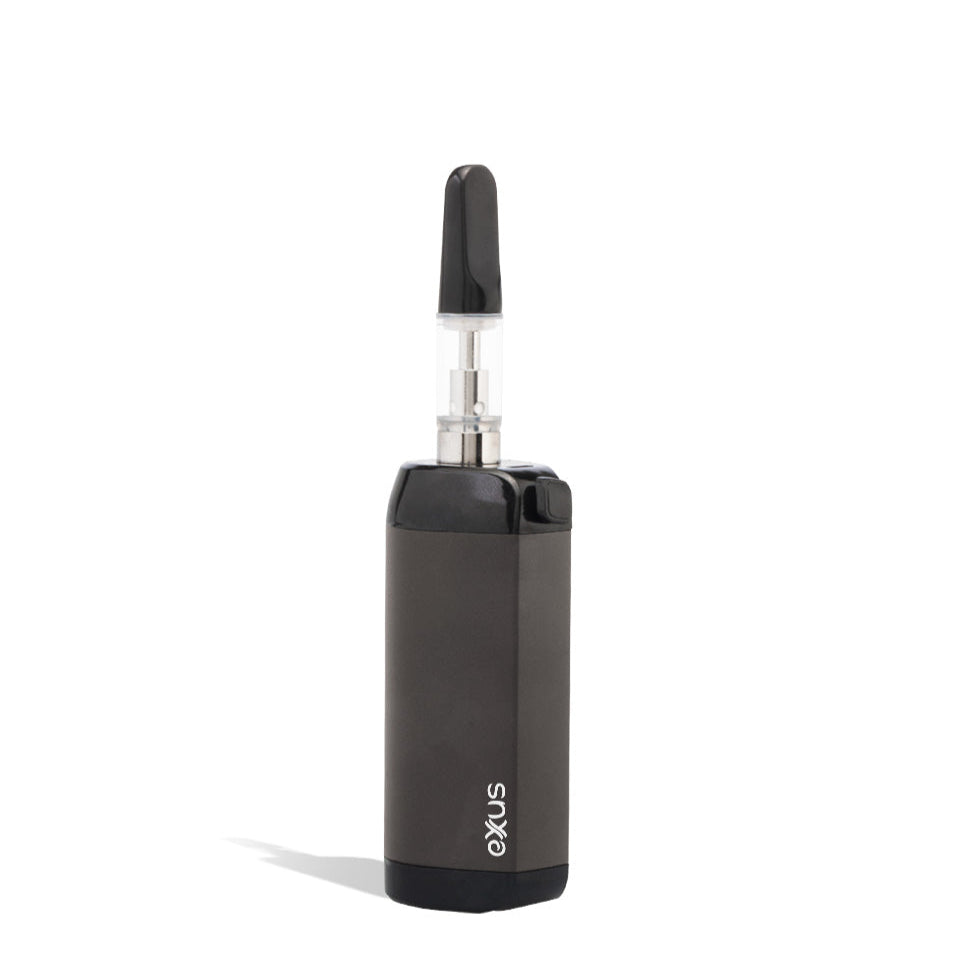
Exxus Vape
Exxus Vape VRS 3-in-1 Vaporizer
Exxus Vape VRS 3-in-1 Vaporizer
Couldn't load pickup availability
Introducing the all-new Exxus VRS 3-in-1 Vaporizer by Exxus Vape – your ultimate all-in-one device for smooth, flavorful hits. Designed for dry herbs, wax, and oils, this versatile vaporizer delivers precision, convenience, and customizable sessions, making it perfect for beginners and seasoned vapers alike.
The Introduction of an Original
Welcome to the All-New Exxus VRS
Experience the original Exxus VRS, built for exceptional flavor and reliable performance. Featuring a durable ceramic atomizer, rapid 15-second heat-up, and three adjustable voltage settings (3.0V, 3.5V, 4.0V), this 3-in-1 vaporizer delivers smooth, satisfying sessions wherever you go. Compact, versatile, and powerful, the Exxus VRS is your all-in-one solution for dry herbs, wax, and oils.

A Closer Look
What can the Exxus VRS Do?

What can’t the Exxus VRS 3-in-1 Vaporizer do? This versatile device from Exxus Vape goes beyond expectations. While marketed as a 3-in-1, it actually offers a bonus fourth mode, making it a true 4-in-1 powerhouse for ultimate customization. Ideal for oils, concentrates, and dry herbs, the VRS features a premium ceramic atomizer, lightning-fast 15-second heat-up, and three adjustable voltage settings (3.0V, 3.5V, 4.0V) to deliver smooth, flavorful sessions every time. Elevate your vaping experience and customize every hit with this all-in-one device.
4 in 1 Ways
Showcases

How to Use the Exxus VRS 3-in-1 Vaporizer
-
Fill the Rig – Add water to your rig for optimal vapor filtration.
-
Power On & Adjust Voltage – Insert the battery and click the button three times to select your preferred voltage.
-
Start Sesh Mode – Click the button twice or hold it down to enter 15-second session mode, heating the unit and producing vapor instantly.
-
End Sesh Mode – Click the button once at any time to stop the session.
-
Inhale & Control Airflow – Inhale from the mouthpiece to enjoy smooth vapor. Press the carb to release airflow; this opens a hole in the cap, letting both air and vapor flow freely for a controlled, flavorful hit.

How to Use the Exxus VRS 3-in-1 Vaporizer for Concentrates
-
Safety First – Remove the cap from the heating tip and ensure it has fully cooled before handling, as it becomes extremely hot during use.
-
Adjust Voltage – Click the button three times to raise the voltage to your preferred level.
-
Start Sesh Mode – Click the button twice for a 15-second session, or simply hold the button to heat continuously and begin vapor production.
-
Vape Your Concentrates – Once the heating tip reaches your desired temperature, press it gently against your concentrate and inhale.
-
Control Airflow – Pressing the carb opens a hole on the cap, allowing air and vapor to flow freely for smooth, flavorful hits.

Once your cartridge is securely connected, turn on the device. Click the power button three times to adjust the voltage to your preferred level for the perfect vaping experience.
BONUS Way to Use A Cartridge

Charging the VRS
Keep the Sessions Coming
When you first receive your Exxus VRS 3-in-1 Vaporizer, charge the unit for about 2 hours before use. Avoid charging beyond 2 hours, as overcharging can reduce battery life and may affect the device’s performance.

While charging, the LED light will glow red. Once fully charged, the LED will turn green for about a minute before shutting off, indicating your device is ready for use.
Cleaning the VRS
Keep Up with Your Device
To ensure pure, flavorful sessions, it’s essential to keep your Exxus VRS clean. Pro tip: clean your device after each use for the best performance.
-
Disassemble – Remove the magnetic top and button caps to access the battery.
-
Clean Connections – Use an alcohol-soaked cotton swab to gently wipe the battery connection points and the caps, removing any residue.
-
Wipe the Battery – After cleaning the caps, set them aside and carefully wipe the top and bottom of the battery with a fresh cotton swab.
Regular cleaning keeps your vaporizer working at peak performance and ensures every session stays smooth and enjoyable.

Carefully remove the metal tube from the battery using the crescent tab at the bottom of the VRS. Once removed, use an alcohol-soaked swab to thoroughly clean both the tube and the inside of the battery chamber. After cleaning, reinsert the tube and replace the covers, ensuring the crescent tab faces inward for proper alignment.
Cleaning Your Exxus VRS 3-in-1 Vaporizer Attachment
To keep vapor production smooth and consistent, it’s important to clean the attachment regularly. For optimal performance, clean it after each use. Always ensure the unit and accessories have fully cooled down before cleaning to avoid damage or injury.
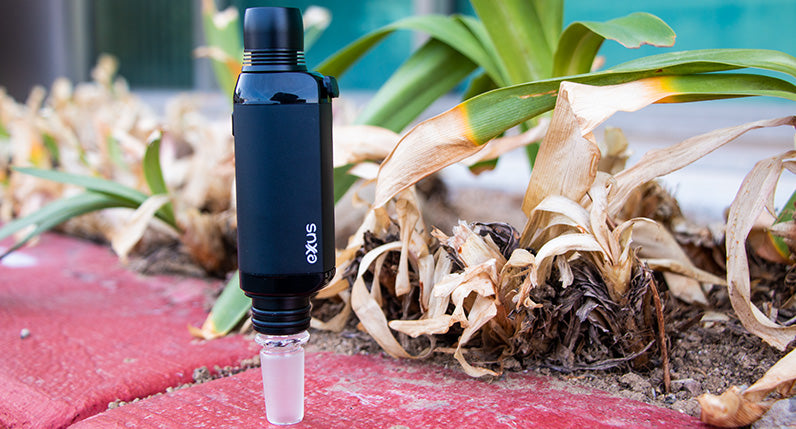
How to Clean the Hydro Tube of Your Exxus VRS 3-in-1 Vaporizer
-
Remove the Hydro Tube – Detach the tube from the VRS carefully.
-
Alcohol Cleaning – Slowly pour 99% isopropyl alcohol into the mouthpiece until the tube is partially filled. Let it soak to loosen residue.
-
Rinse Thoroughly – Pour out the alcohol and rinse the tube with water until all traces of alcohol are removed.
-
Dry the Tube – Remove any remaining water by gently blowing through the mouthpiece, shaking lightly, and wiping dry.
Included
What Comes with Your VRS

Get ready for ultimate versatility! The Exxus VRS 3-in-1 Vaporizer (bonus 4th mode included) is your all-in-one solution for oils, concentrates, and dry herbs. Every unit is designed for flavorful, smooth sessions with top-notch performance. Featuring a high-quality ceramic atomizer, lightning-fast 15-second heat-up, and three adjustable voltage settings (3.0V, 3.5V, 4.0V), the VRS ensures superior hits every time.

WARNING: Do not charge with a powerbank of 5V or higher. Do not charge in your car. Do not overcharge or use any other charging cable other than what comes with your battery. Failure to follow these instructions could result in battery damage and frying of the internal system.